Aether: Sky and Weather - documentation
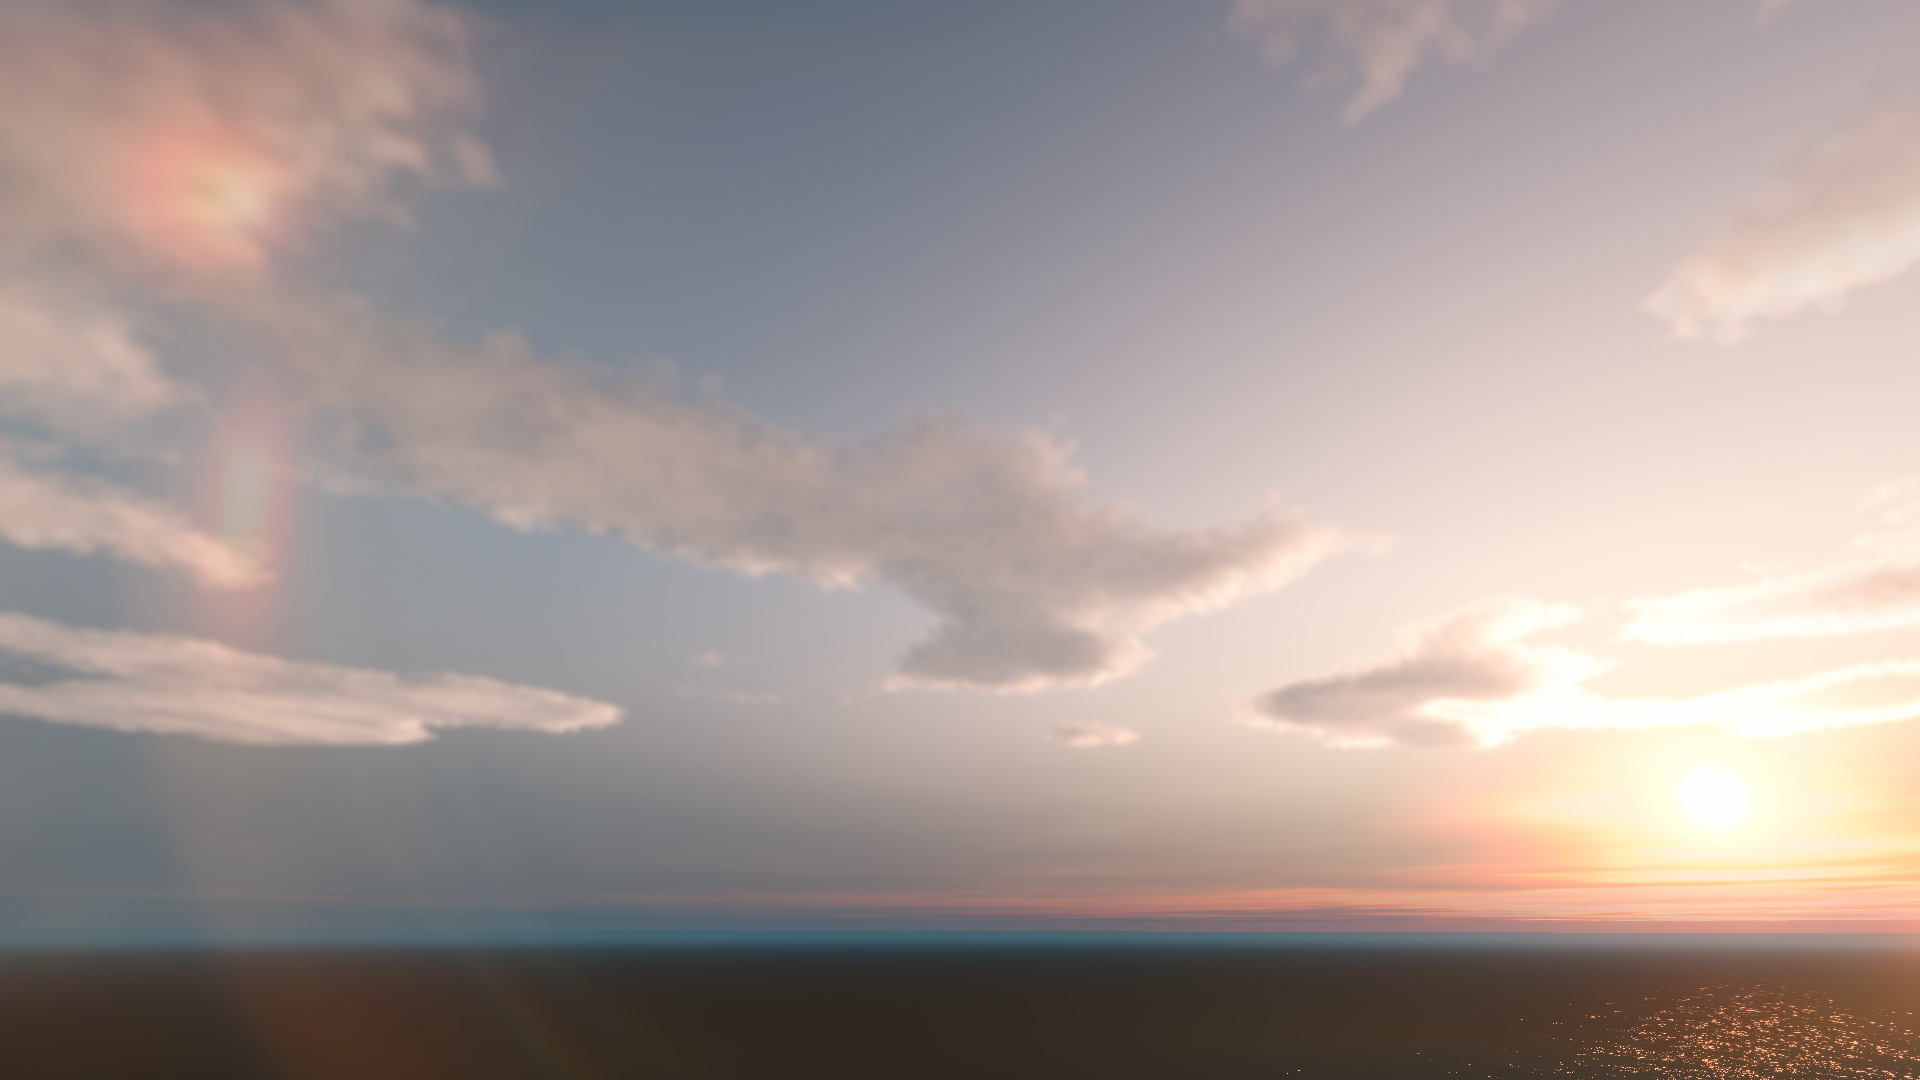
Table of Contents
📖 Overview
Aether: Sky and Weather is a comprehensive system that enables user to manage lighting and weather changes together.
💿 Installation
Method 1 (recommended)
- Add the Aether: Sky and Weather package to your project
- Add VolumetricSkyRenderFeature to Renderer settings.
- Drag and drop Weather prefab onto your scene. (WeatherSystem → Prefabs → Weather.prefab)
Method 2
- Add the Aeather: Sky and Weather package to your project
- If you want to use volumetric effects: Add VolumetricSkyRenderFeature to Renderer settings.
- Finally, add an empty GameObject to the scene and add WeatherManager script.
☁️ WeatherStates
WeatherState is a structure containing a SkyProfile, WeatherProfile as well as particle system and ambient sound triggers.
SkyProfile
Sky profiles contain settable data that define how sky is rendered and also how sun lighting color changes in time.
WeatherProfile
Weather profiles contain data defining the weather. Currently settable data for the weather:
- 2 layers of performant 2D clouds
- Volumetric Clouds Layer
- Directional and ambient fog with extinction, suitable for occluding light or creating a smog-like effect
ParticleSystems (optional)
Weather state contains a list of particle systems that will be triggered when WeatherState is active.
Audio (optional)
WeatherState also contains audio tool that will trigger ambient sound with relation to time (e.g. birds chirping in the day, owls howling at night).
🕐 Positioning and time of day functionality
There are currently two ways of specifying positions of sun and moon:
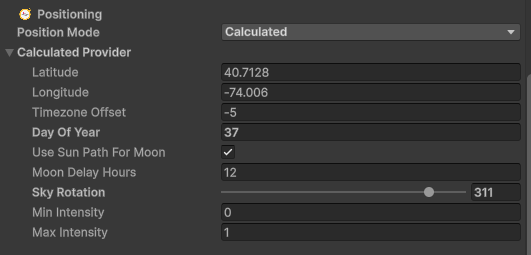
- Calculated - you can specify exact location by using latitude, longitude, timezone offset, day of year and other parameters and then set sun’s and moon’s position by using time slider
- Custom - by selecting this positioning mode you can set sun’s and moon’s positions by using their Transform components.
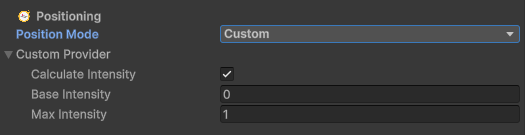
Both methods also set minimum and maximum intensity of lighting which is calculated with respect to height of currently enabled celestial body.
🌦️ Weather Transitions
Prerequisites: You must add at least 2 WeatherStates to the WeatherManager component to use transitions.
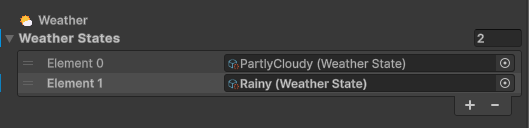
There are currently 2 ways of changing weather state:
- Calling WeatherManager.Instance.Transit method with specified state name and transition time anywhere in your codebase.
- Using Debug Gui of WeatherManager (this can be enabled in WeatherManager’s inspector).
🎯 Transition Methods
Transit to Specific State
Transition to a weather state by name.
WeatherManager.Instance.Transit("Rainy", 5f);
Method Signature
public void Transit(string stateName, float transitionTime)
| Parameter | Type | Description |
|---|---|---|
stateName | string | Name of the target weather state |
transitionTime | float | Transition duration in seconds |
💡 If no matching state is found, the transition is silently ignored.
Transit to Next State
Cycle forward through weather states sequentially. Automatically wraps to the first state after the last.
WeatherManager.Instance.TransitToNextWeatherState(3f);
Method Signature
public void TransitToNextWeatherState(float transitionTime)
| Parameter | Type | Description |
|---|---|---|
transitionTime | float | Transition duration in seconds |
Transit to Previous State
Cycle backward through weather states. Automatically wraps to the last state when going backward from the first.
WeatherManager.Instance.TransitToPreviousWeatherState(2f);
Method Signature
public void TransitToPreviousWeatherState(float transitionTime)
| Parameter | Type | Description |
|---|---|---|
transitionTime | float | Transition duration in seconds |
🛠️ Usage Examples
Event-Driven Transitions
// Trigger specific weather based on game events
if (playerEnteredDesert)
{
    WeatherManager.Instance.Transit("Rainy", 4f);
}
Input-Based Cycling
// Cycle through weather states on button press
if (Input.GetKeyDown(KeyCode.N))
{
    WeatherManager.Instance.TransitToNextWeatherState(2.5f);
}
Automated Weather Cycle
IEnumerator WeatherCycle()
{
    while (true)
    {
        yield return new WaitForSeconds(60f);
        WeatherManager.Instance.TransitToNextWeatherState(10f);
    }
}
When designing different weather states for transitions, it is important to know, that changing clouds scale between weather states can result in (most probably) unintended cloud movement. This can be avoided by using cloud height instead of changing scale.
☀️ Lighting
Configure how the Weather System manages sun and moon lighting.
Below basic settings for lighting are shown:
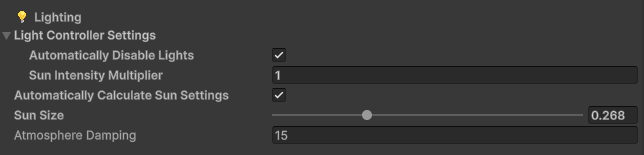
- Automatically disable lights - setting this state to enabled will disable sun’s and moon’s directional light component depending on where sun is located. This will basically enable moon’s light component disable sun’s light component when sun is below horizon.
- Sun intensity multiplier - multiplier for sun’s directional light in relation to global sun’s intensity.
- Automatically Calculate Sun Settings - switching this off will let you use sun’s directional light settings without restrictions. When enabled - intensity and color is calculated by the Weather System.
- Atmosphere Damping - value used to dampen sun intensity that’s used by atmosphere rendering.
⚙️ Lighting properties
Automatically Disable Lights
Controls whether sun and moon lights toggle based on position.
| State | Behavior |
|---|---|
| ✅ Enabled | Moon light activates when sun is below horizon; sun light deactivates |
| ❌ Disabled | Both lights remain active regardless of position |
💡 Use case: Enable for realistic day/night cycles where only one celestial light source is active at a time.
Sun Intensity Multiplier
Adjusts the sun's directional light intensity relative to the global sun intensity value.
Type: float
Default: 1.0
📊 Final intensity = Global Sun Intensity × Sun Intensity Multiplier
Automatically Calculate Sun Settings
Determines whether the Weather System controls sun light properties.
| State | Description |
|---|---|
| ✅ Enabled | Weather System automatically calculates light intensity and color |
| ❌ Disabled | Use custom directional light settings without restrictions |
⚠️ Note: Disable this if you need full manual control over the sun's directional light component.
When enabled, the system controls:
- Light intensity
- Light color
When disabled, you can freely adjust:
- All directional light properties
- Custom color grading
- Manual intensity curves
Atmosphere Damping
Dampens sun intensity specifically for atmosphere rendering calculations.
Type: float
🎨 Use case: Fine-tune atmospheric scattering without affecting direct lighting. Higher values create softer, more diffused atmospheric effects.